Hello everyone! It's been a crazy couple of weeks with work and crochet deadlines that I've barely had time to write anything. But now I'm at work, the old people are all asleep (I work at a retirement home) and I'm ready to show you all my perler beads. Now I'm sure most of you have no idea what I'm talking about. Perler beads are these small cylinder beads that can be melted together to create just about anything you want. Some may remember making them as children, but trust me it has come a long way since then. Now, young adults and adults alike create giant pieces of art that are so insane it's hard to believe it's hand made.


(credit goes to their creators I did not make any of these.)
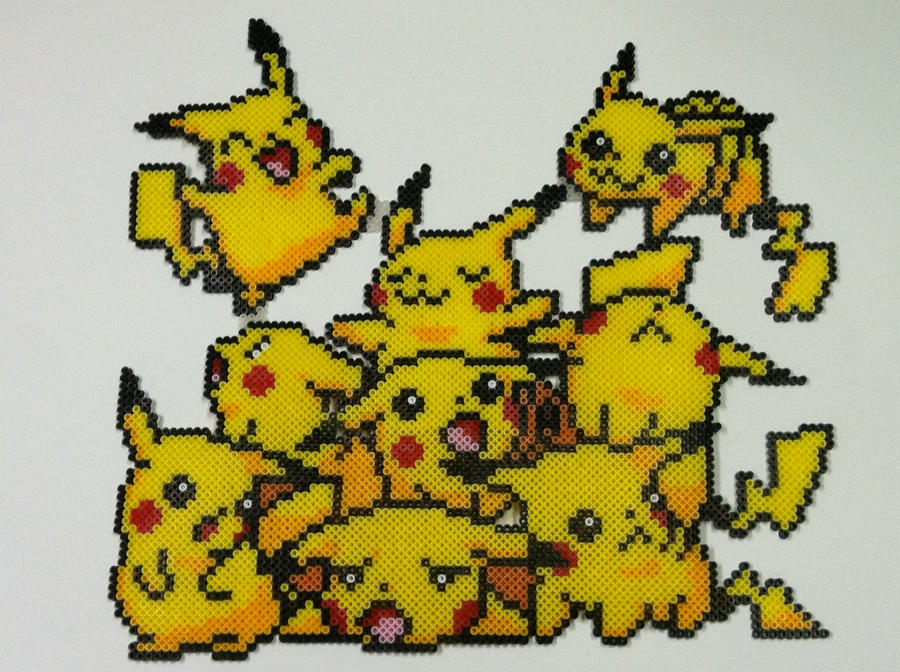
As you can see Perler bead art can range from cute and small to large and incredible!
Although I am not as experienced as those artists, I work hard to create what I can, mainly chibi pixel art, animals, cartoon characters, and kpop related art.
my most current perler art:


Although most of my perler patterns I did not make, simply tweaked to fit what I needed, I found it super convenient to use an Embroidery/Cross Stitch pattern creator to make perfect patterns for perler art. Embroydery(cross stitch) art patterns are normally pixelized and shown on a grid with little squares showing you what colors come next, and what it should look like in the end. Of course with anything pixelized, it can also make the final piece of art a lot bigger than intended.
The website I used to make patterns is called pic2pat.com . All you need is a picture (plus fiddling with the measurements until it looks right). It's really easy to sue and helps you on your way to creating something incredible.
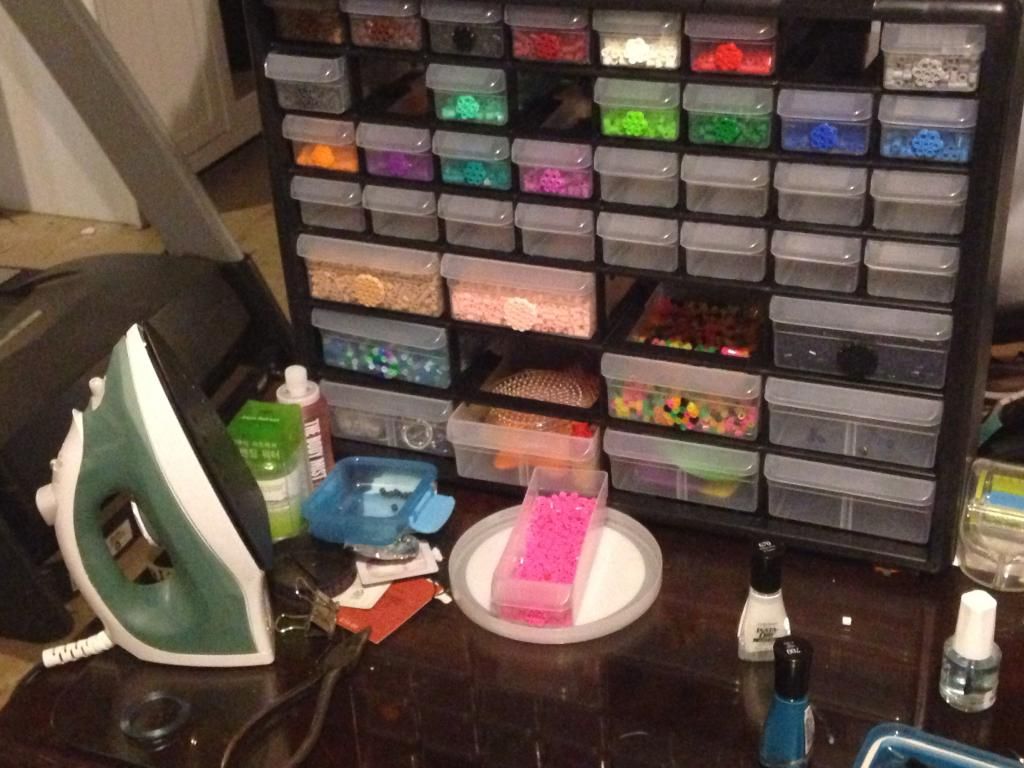
Perler beads normally come in individual color packs (1000 count) or in a large tub mixed randomly. I prefer the individual packs because it is quick and easy to move them into my perler storage unit.

Before this baby, I had been "living on the edge" keeping my beads in open bags. Of course this was not the brightest idea especially after dropping the bags and getting beads everywhere. (You wouldn't believe how many beads I still step on to this day) I got the unit at Menards for $19, which may seem a little pricey but it was worth it.
~Tips & Tricks to Perler~
(1) Always use parchment paper instead of wax paper when melting your beads. If you use wax paper, it will just melt the wax paper to the beads and leave big white marks on your finished project. It's also a huge pain in the butt to get off of the beads in the end.
(2) Sometimes your beads will shift. I recommend a toothpick or tweezers to adjust them. If you try to use your fingers, you could knock into your art and destroy it all.
(3) Always work on a flat surface and a low traffic area like your personal table or desk that nobody else uses. The last thing you want is your mom, brother, sister, aunt somebody coming by, bumping the table and the beads all scatter. It's not pretty.
If you have any questions just comment and I'll get back to you A.S.A.P

Alright now it is time for the Korean word of the week.
This week it was difficult picking just what work I should use, and after playing with a few words, I realized that it would be good to go over the Korean alphabet. So my next post will be all about the alphabet. But until then let's learn a set of three easy words.
눈,코,입
(1) 눈
Romanization: nun
Pronunciation: n-uh-n
Translation: eyes
(2) 코
Romanization: ko
Pronunciation: go
Translation: nose
(3) 입
Romanization: im/ip
Pronunciation: like him without the H, but can also sound like hip without the H
(ill get to that in the next post)
Translation: lips
To show you an example of these three words is easier than it may look. I will have to give props to Taeyang of Big Bang for making my job so much easier with this song eyes nose lips.
Now if you like this song, there are many other YG (a korean music company) covers of the song done by AKMU, Tablo (an english version ft taeyang), and Lydia Paek (also an english cover).
Well thank you for reading! Any questions just comment below and until next time
안녕히가세요 (annyonghigaseyo) or go in peace ^_^
my most current perler art:
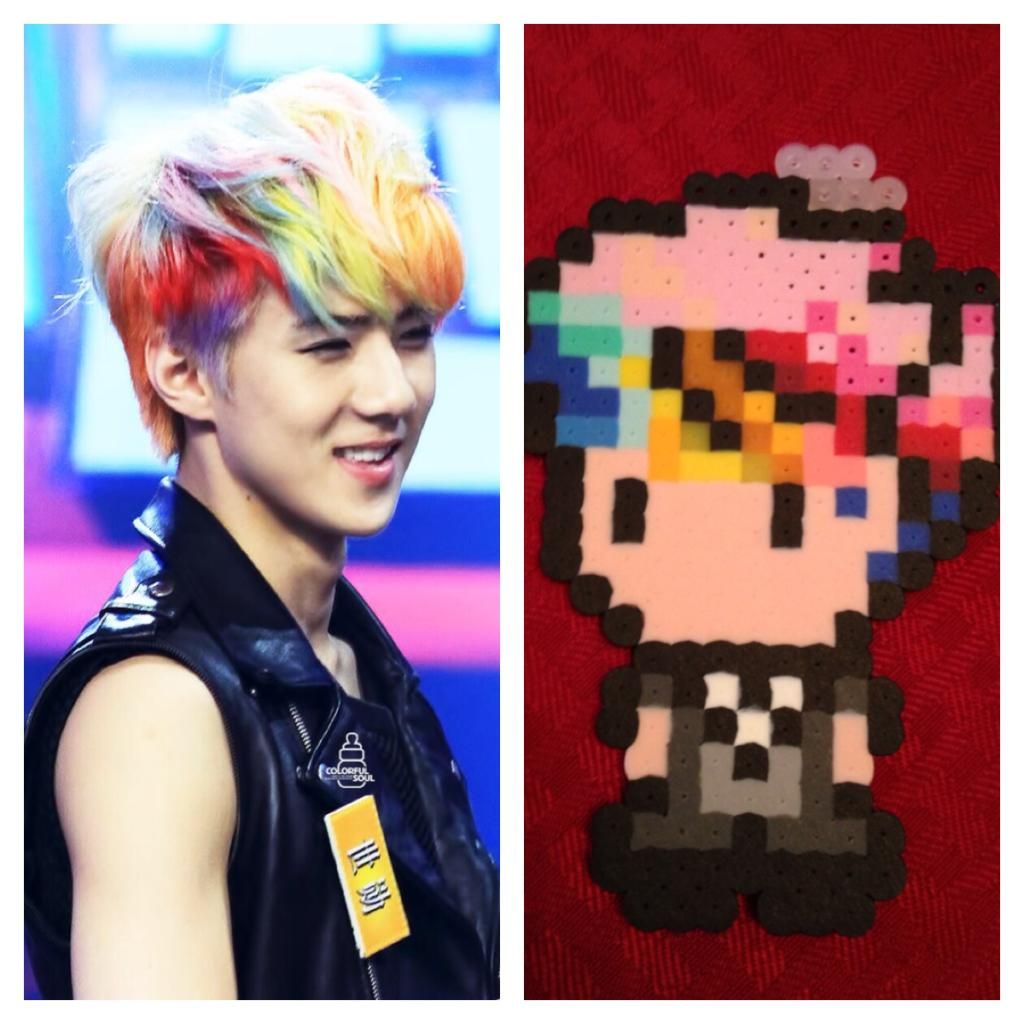
Sehun From EXO

Rap Monster from BTS
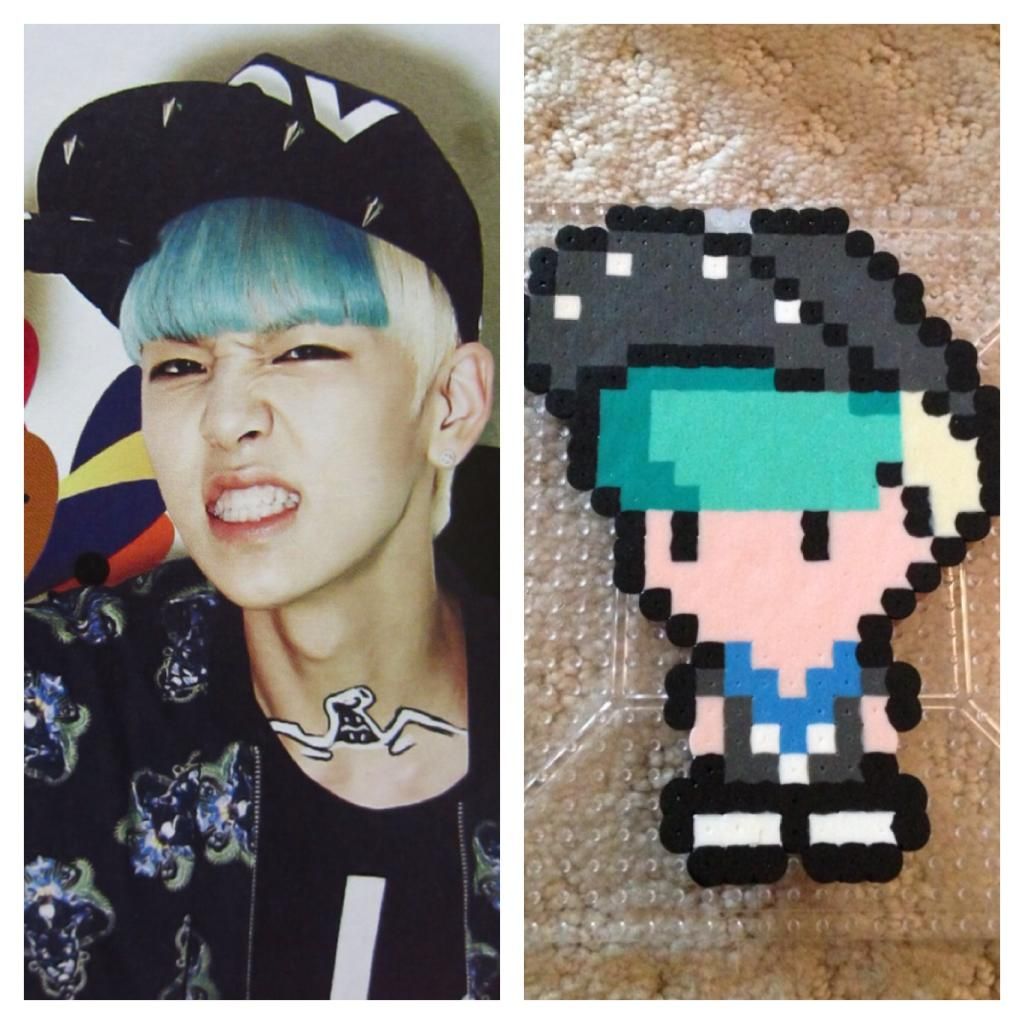
Zelo from B.A.P.

G Dragon from Big Bang

Ravi from VIXX

Current project I'm working on it is going to be the HER logo from Block B's song HER

Shinee logo

Chibi Wolf Kai from EXO

My craft desk while in the process of making Chibi Kai

Un Penguino para Areli
Although most of my perler patterns I did not make, simply tweaked to fit what I needed, I found it super convenient to use an Embroidery/Cross Stitch pattern creator to make perfect patterns for perler art. Embroydery(cross stitch) art patterns are normally pixelized and shown on a grid with little squares showing you what colors come next, and what it should look like in the end. Of course with anything pixelized, it can also make the final piece of art a lot bigger than intended.
The website I used to make patterns is called pic2pat.com . All you need is a picture (plus fiddling with the measurements until it looks right). It's really easy to sue and helps you on your way to creating something incredible.
Perler beads normally come in individual color packs (1000 count) or in a large tub mixed randomly. I prefer the individual packs because it is quick and easy to move them into my perler storage unit.
Before this baby, I had been "living on the edge" keeping my beads in open bags. Of course this was not the brightest idea especially after dropping the bags and getting beads everywhere. (You wouldn't believe how many beads I still step on to this day) I got the unit at Menards for $19, which may seem a little pricey but it was worth it.
~Tips & Tricks to Perler~
(1) Always use parchment paper instead of wax paper when melting your beads. If you use wax paper, it will just melt the wax paper to the beads and leave big white marks on your finished project. It's also a huge pain in the butt to get off of the beads in the end.
(2) Sometimes your beads will shift. I recommend a toothpick or tweezers to adjust them. If you try to use your fingers, you could knock into your art and destroy it all.
(3) Always work on a flat surface and a low traffic area like your personal table or desk that nobody else uses. The last thing you want is your mom, brother, sister, aunt somebody coming by, bumping the table and the beads all scatter. It's not pretty.
If you have any questions just comment and I'll get back to you A.S.A.P

Alright now it is time for the Korean word of the week.
This week it was difficult picking just what work I should use, and after playing with a few words, I realized that it would be good to go over the Korean alphabet. So my next post will be all about the alphabet. But until then let's learn a set of three easy words.
눈,코,입
(1) 눈
Romanization: nun
Pronunciation: n-uh-n
Translation: eyes
(2) 코
Romanization: ko
Pronunciation: go
Translation: nose
(3) 입
Romanization: im/ip
Pronunciation: like him without the H, but can also sound like hip without the H
(ill get to that in the next post)
Translation: lips
To show you an example of these three words is easier than it may look. I will have to give props to Taeyang of Big Bang for making my job so much easier with this song eyes nose lips.
Now if you like this song, there are many other YG (a korean music company) covers of the song done by AKMU, Tablo (an english version ft taeyang), and Lydia Paek (also an english cover).
Well thank you for reading! Any questions just comment below and until next time
안녕히가세요 (annyonghigaseyo) or go in peace ^_^